Week 1 Lesson contains:
òStarting Photoshop
òExploring the Workspace
òStarting from Scratch
òOpen an Existing Image
òZoom Tool
òSaving Your Images in the appropriate format
òResize for the Web
òSaving for Web
òTaking a look at PSD, JPG, PNG and GIF Format
òScreenshot
òAdobe Help System
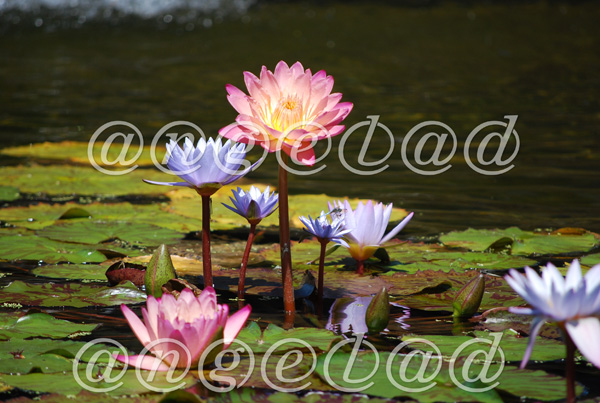
Resizing Images and File Save As
The header image is resized from 2896 x 1944 down to 600 x 403 by going to
Image - Image Size and typing in the Pixel Dimensions that I wanted
and checking off a few other features and using the Bicubic for smoothness
for when it reduces in size.
Then I save the image as a .jpg by going to File - Save As
.jpg - then the jpg options box comes-up and I set it for Quality 10 at Maximum
and the Format Options set at Baseline (Standard).
Starting from Scratch
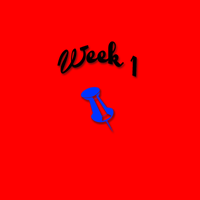

On the first image I opened-up a new image of 200 x 200 then at the bottom
of the layers palette I clicked on an icon that says Create New Fill
and chose my color background.
Next using the Text Tool I typed out Week 1 on a special shaped curve
and added a drop shadow, I then added a custom shape which is the blue thumbnail.
To save the image I first saved it as a .psd format so if I needed to make
changes I can go back to the .psd format which has each layer I created
separately which in this example is the red background fill, the next layer is the
text, another layer has the drop-shadow, and the custom shape (blue thumbnail).
Once I was happy with my results I needed to save it as a different format
for .psd is not visible anywhere else except for certain programs that allow .psd
to be viewable...so first thing is to go to your layers palette and merge visible
then go to File - Save As and I saved mine as a .png format.
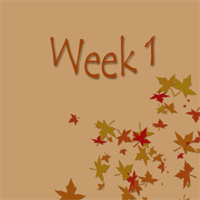
The same goes to image 2 and 3 except image 2 I added a leaf brush effect and
image 3 I added a gradient background and a custom shape one solid and one
cut-out on top of the solid shape with a drop shadow to give depth.
Saving for Web

Saving for the Web helps reduce the size file and makes the webpage quicker to upload.
The above image to reduce size but also to still have a clean image was saved as
a JPEG, Very High, at a Quality of 80...anything lower what have made the image
start to degrade in quality anything higher will make the file size larger
and depending on the size pixel dimensions you have
the longer it might take for the webpage to load.
Screenshot
Screenshots are a cool and easy way to get an image that you might want to use
for example in a tutorial like the above image. Otherwise you are probably
thinking the only way to capture something on the screen if you cannot right click-it
is to get the camera out lol!
Well there is a better way and easier way...
First open the window you wish to create a screenshot of
Press Alt + Print Screen
Second open PhotoShop, File - select New. The New dialog box will open,
Give your image a name. Select the Clipboard option in the Preset Menu.
Click OK. The New Image dialog box will close. You should now have a blank canvas.
Copy and paste your screenshot into the newly opened image.
You are now ready to crop, resize, or edit your image then save.
I saved mine as a GIF
If you are emailing your screen capture or posting it on the web you might
want to consider resizing the image before sending it.
Adobe Help System
Lastly is the Adobe Help System which has tons and tons of info
to help you when you want to learn how to do something.
To get help you can access the HELP -
Photoshop Help...located on the Menu Bar or press F1
within the help you will find Contents / Index and to your right Search
is what I like to use just type in the word drop shadow and click Enter
on your keyboard and a list comes-up.


I hope you enjoyed Lesson 1. Please feel free to contact me.
Web Layout Designed by ®AngelAD